
Posted on 03/09/2012 10:51:08 AM PST by JustaDumbBlonde

.
Good afternoon gardeners! After a high of 81 degrees yesterday, we are at 50 degrees today after experiencing high winds and 3 inches of rain last night. Radar would indicate that there is more rain to come, as I see it in Texas right now. I hope that all of our Texas gardeners are catching up on much needed rain! PTL!
We have so many new gardeners in our group, in addition to folks with the desire to begin gardening, that I thought a primer on transplanting might be useful. Please feel free to add to the discussion with your regular practices. And, as always, please feel free to ask any questions that you may have. This group loves to share information, and advice is free for the asking!
Because I plant over 100 tomato plants every year, I've got my transplanting down to a science that works for me and allows me to move down the row quickly. My tools are a bulb planter, a old spoon from the kitchen, a small bucket and several 2-liter soda bottles. (One day I'd love to do a thread on all of the common non-garden-related items we all use in our gardens.)
I start off my mixing up several bottles of a starter fertilizer, either the TNT pictured below, or Miracle Grow Quick Start. Whatever you use, make sure it is a low-nitrogen product, or you will grow lovely leaves and not much else. I also put some tomato food around the base of the tomato after transplant. Please notice the N-P-K formulation on these products. Similar products from any manufacturer are fine, these are what stores in my area offer for sale.
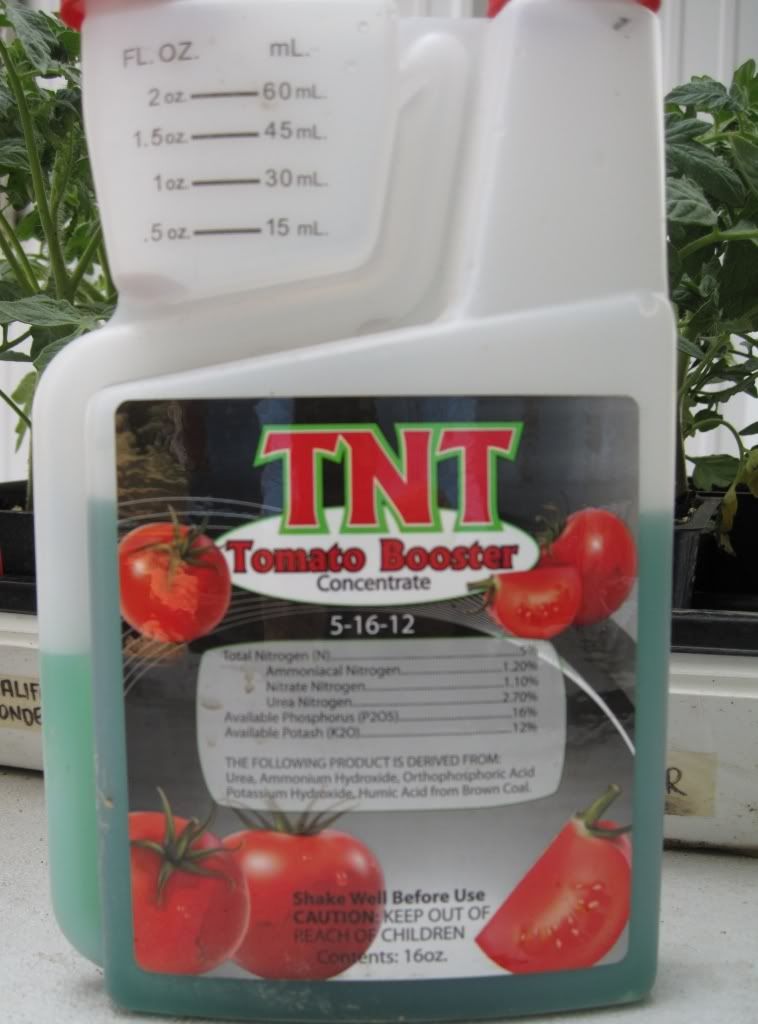
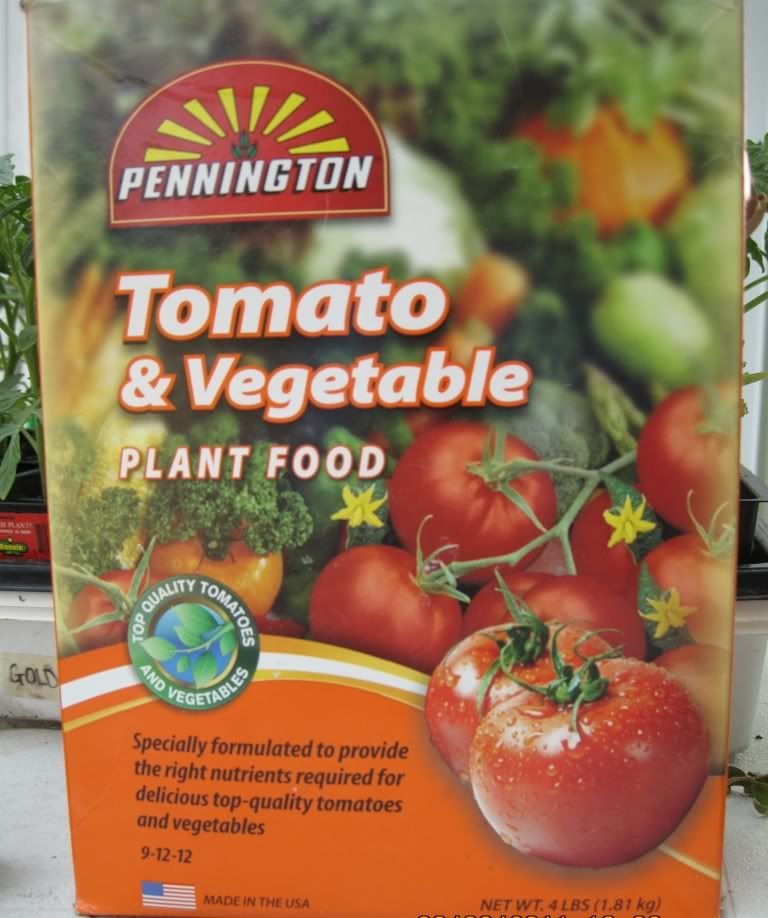
My tomatoes are planted through a commercial quality landscape fabric for weed control and moisture retention. It has other benefits, but weed control is my major concern. I begin by measuring off 30 inch increments and marking them on my fabric, then I go back and cut X's in the fabric and fold the corners under to access the soil.
Begin by digging your hole. I use a bulb planter because it makes the perfect diameter hole for a transplant that comes from a commercial 6-9 pack, or the small newspaper pots that I make myself. Tomatoes should be planted "deep", so dig your hole accordingly.
Here is an example of a bulb planter:
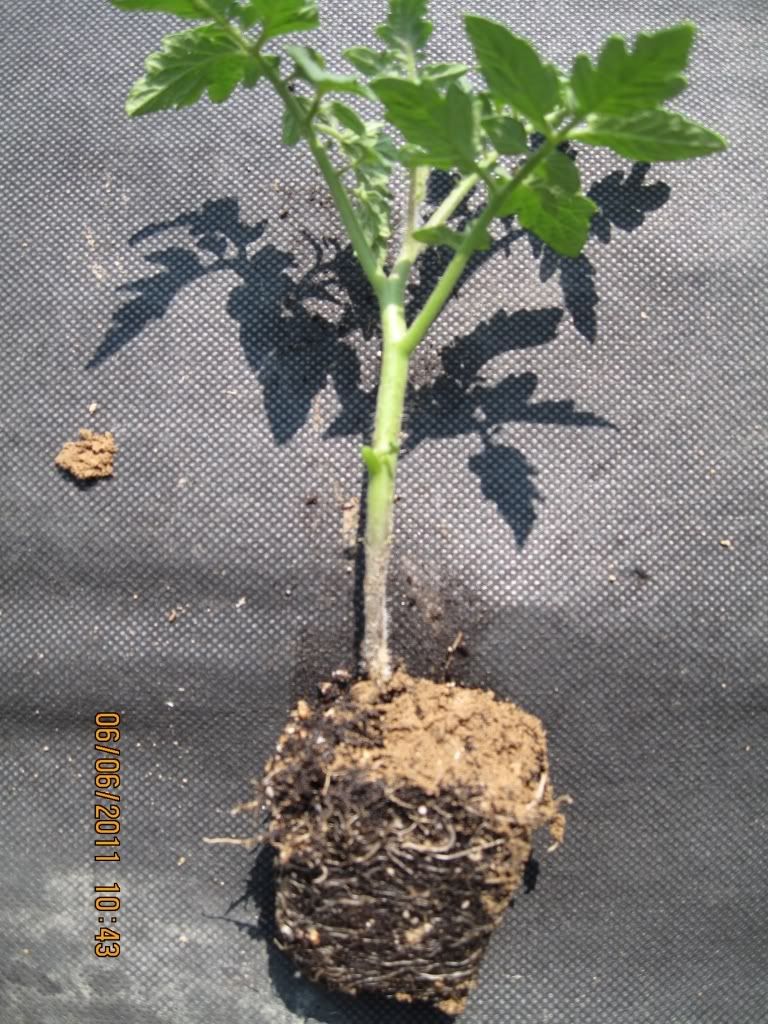
By "deep", I mean that you are going to plant more than just the roots, you are going to plant at least half of the stalk as well, up to 3/4 of the height of the plant is perfectably acceptable. Bonnie Plants, which supplies the likes of WalMart, Lowes and Home Depot garden centers, used to suggest 80% of the plant stem, but they have since backed that off to 2/3. This method is really the ONLY way to grow the strongest possible plant. Roots will develop on the entire length of the stem that is buried, giving your plants lots of roots to anchor the plant, as well as the ability to absorb more moisture and nutrients. In the photo below, the top of my index finger is indicating how deep I'm going to plant this tomato.
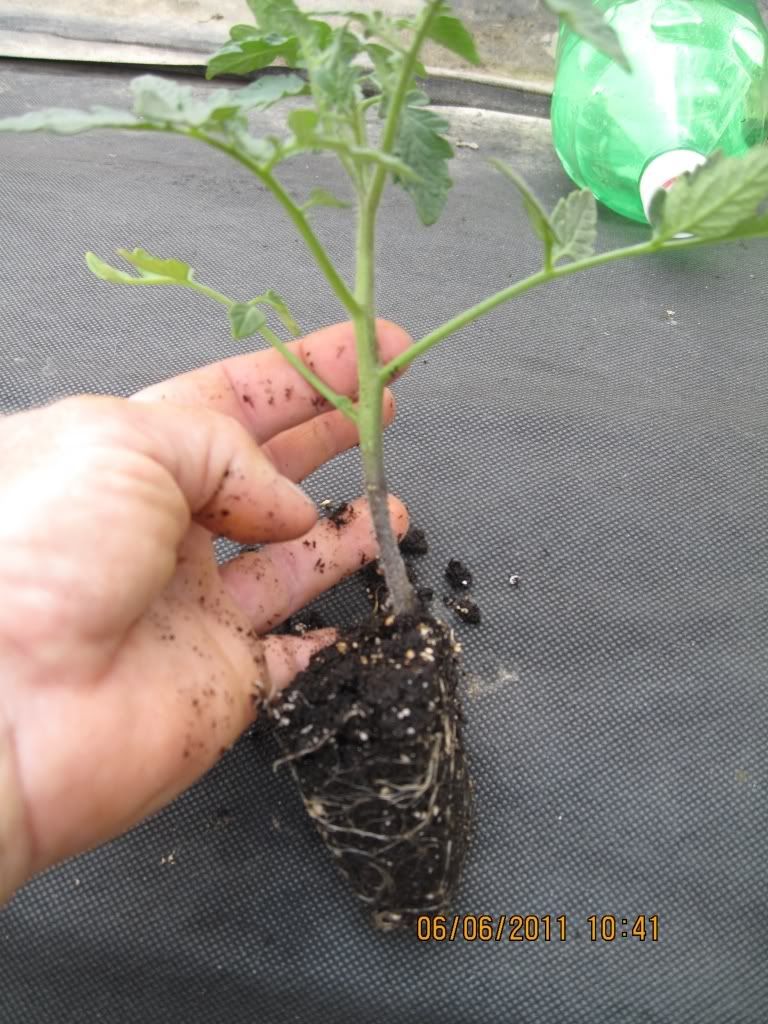
The next photo shows that I have pinched-off the leaves of the plant up to the point that I will bury the stem. This is not a required step, many folks let them stay, but it is my personal preference to remove them to avoid air pockets around the new roots.
Next, gently place your plant in the hole you've prepared. You can see from the photos below that there is enough room in the hole to surround the delicate roots with looser soil to accomodate quick spread and avoid transplant shock.
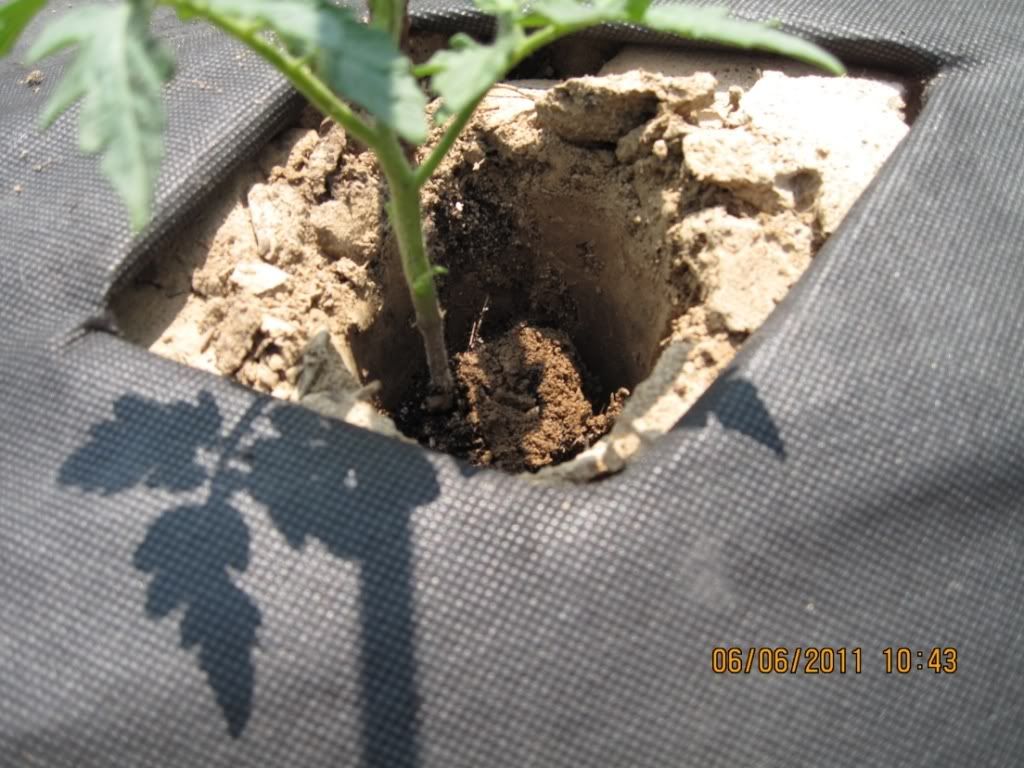
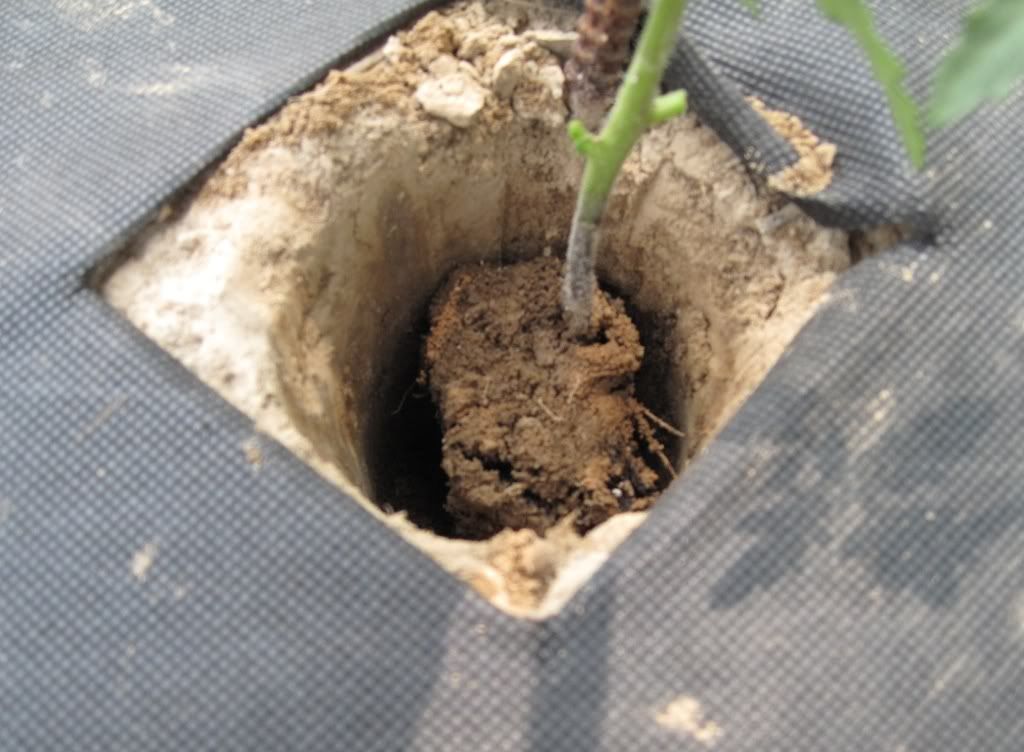
In the next step, you should replace the soil you removed with the bulb planter, just enough to cover the existing rootball. I use the small bucket to break up the soil and hold it until I'm ready to put it back. If you're not working on landscape fabric, of course you can keep the soil on the ground next to the hole. The important thing is making sure you break it up well.
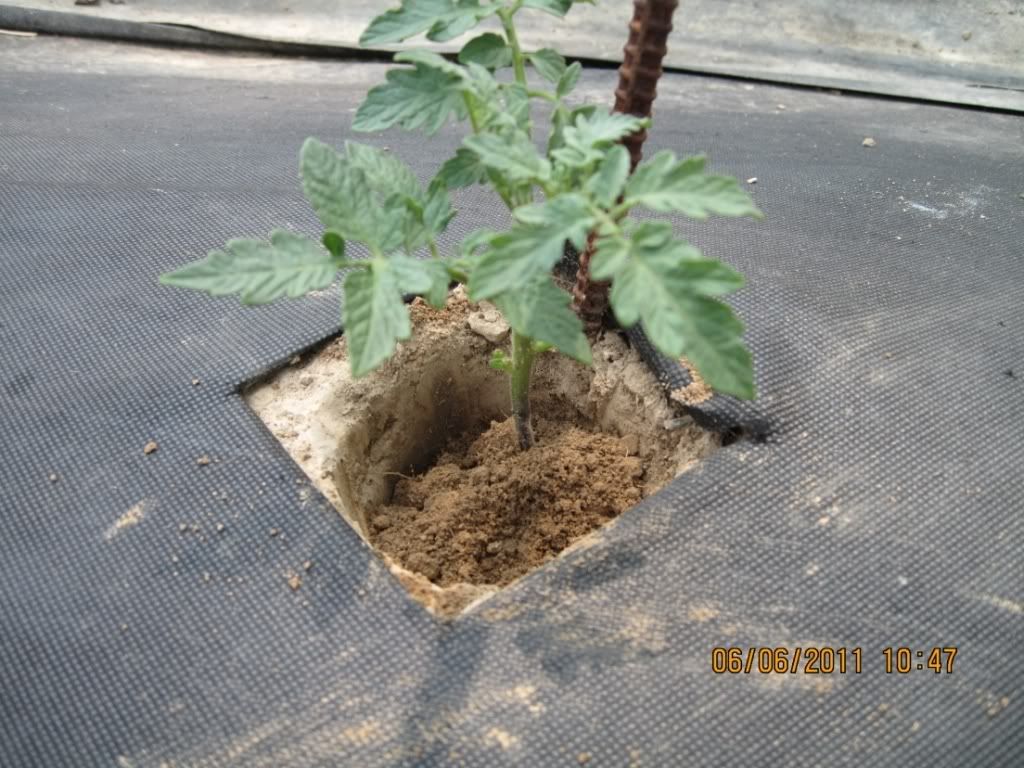
Then water that soil in with your starter fertilizer/water mixture. Water until the loose soil is underwater and then allow it to soak in. It only takes a minute or less.
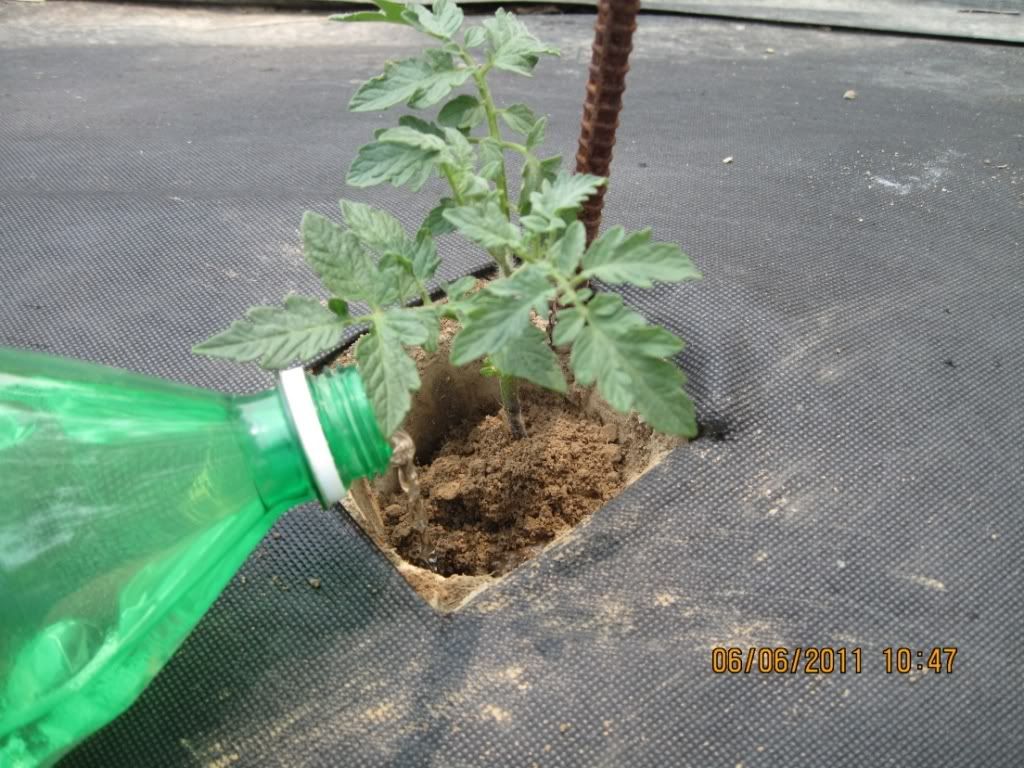
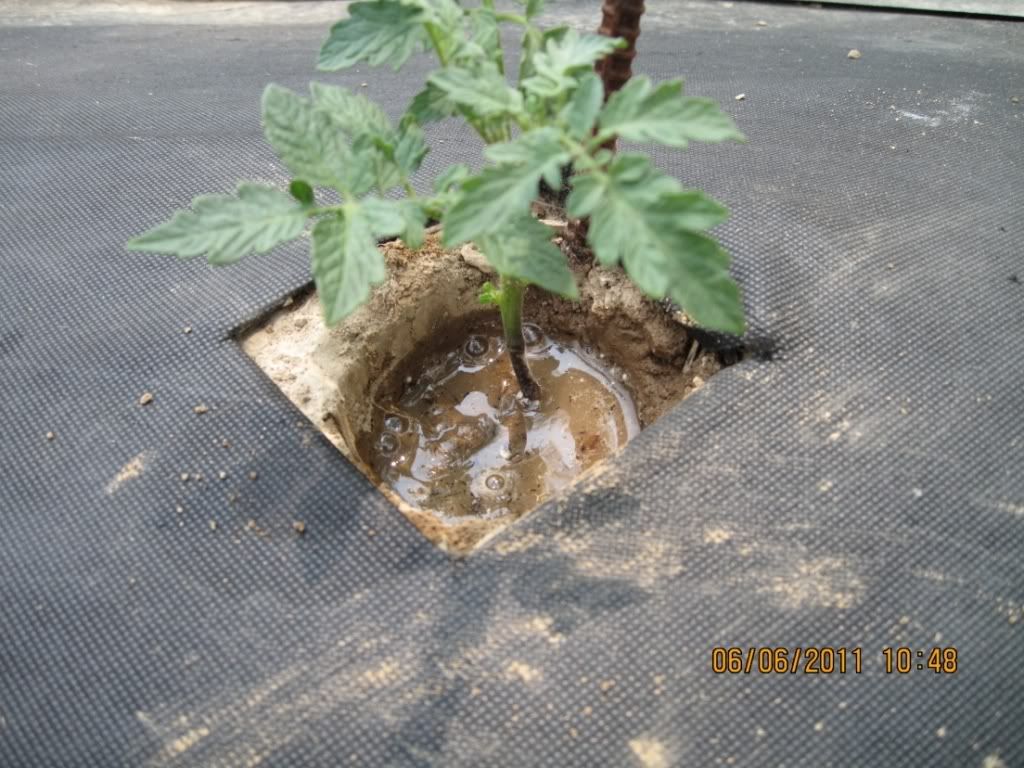
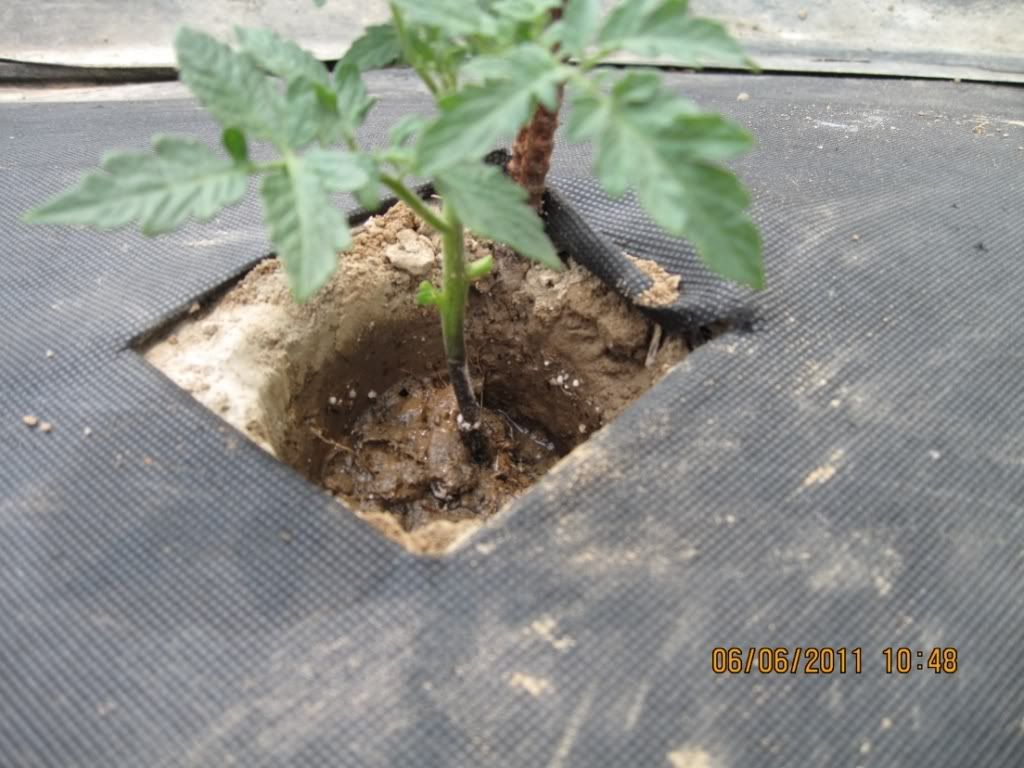
After the water soaks in and settles the loose soil, fill in the remainder of the hole, and build it up to a small pyramid. The next rain or watering will take that pyramid down to level ground and, if it doesn't, that's okay too. At this point if you have not already fertilized your soil, place a tablespoon or two of a good tomato fert around the base of the plant. DO NOT let the crystals touch the stem!
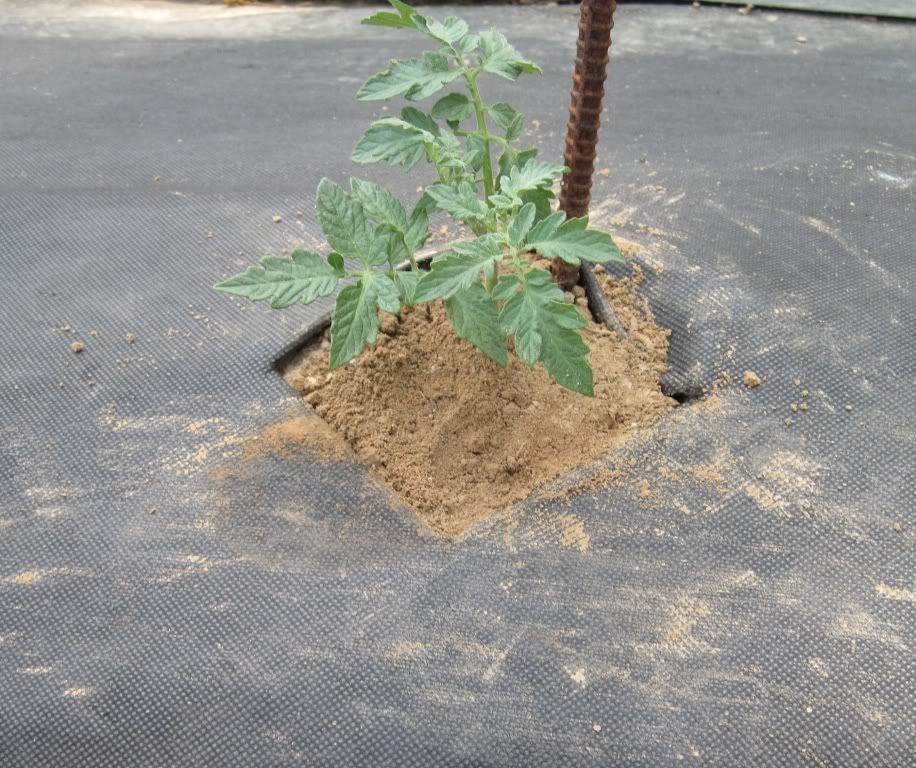
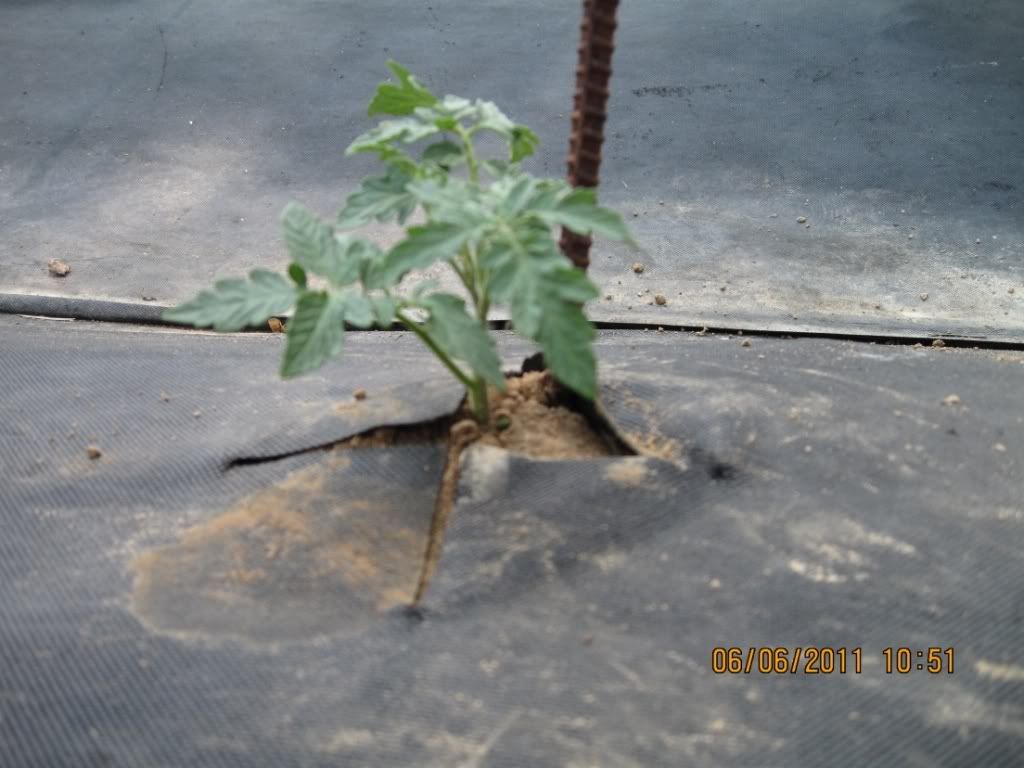
My final step is unfolding the landscape fabric to cover the soil, and standing back to watch the growth!
.

The Weekly Gardening Thread is a weekly gathering of folks that love soil, seeds and plants of all kinds. From complete newbies that are looking to start that first potted plant, to gardeners with some acreage, to Master Gardener level and beyond, we would love to hear from you.
This thread is non-political, although you will find that most here are conservative folks. No matter what, you won’t be flamed and the only dumb question is the one that isn’t asked.
It is impossible to hijack the Weekly Gardening Thread ... there is no telling where it will go and that is part of the fun and interest. Jump in and join us!
Weekly Gardening Thread (Catalog Fever) Vol. 1 Jan 6, 2012
Weekly Gardening Thread (Seeds) Vol. 2, January 13, 2012
Weekly Gardening Thread Vol. 3, January 20, 2012
Weekly Gardening Thread (U.S. Hardiness Zones) Supplemental Vol. 1
Weekly Gardening Thread (Soil Types) Vol. 4, January 27, 2012
Weekly Gardening Thread (Vacation) Vol. 5, February 03, 2012
Weekly Gardening Thread (Vacation) Vol. 6, February 10, 2012
Weekly Gardening Thread (Vacation?) Vol. 7, February 17, 2012
Weekly Gardening Thread (Home Sweet Home) Vol. 8, February 24, 2012
Weekly Gardening Thread (Soil Structure Part 1) Vol. 9, March 2, 2012

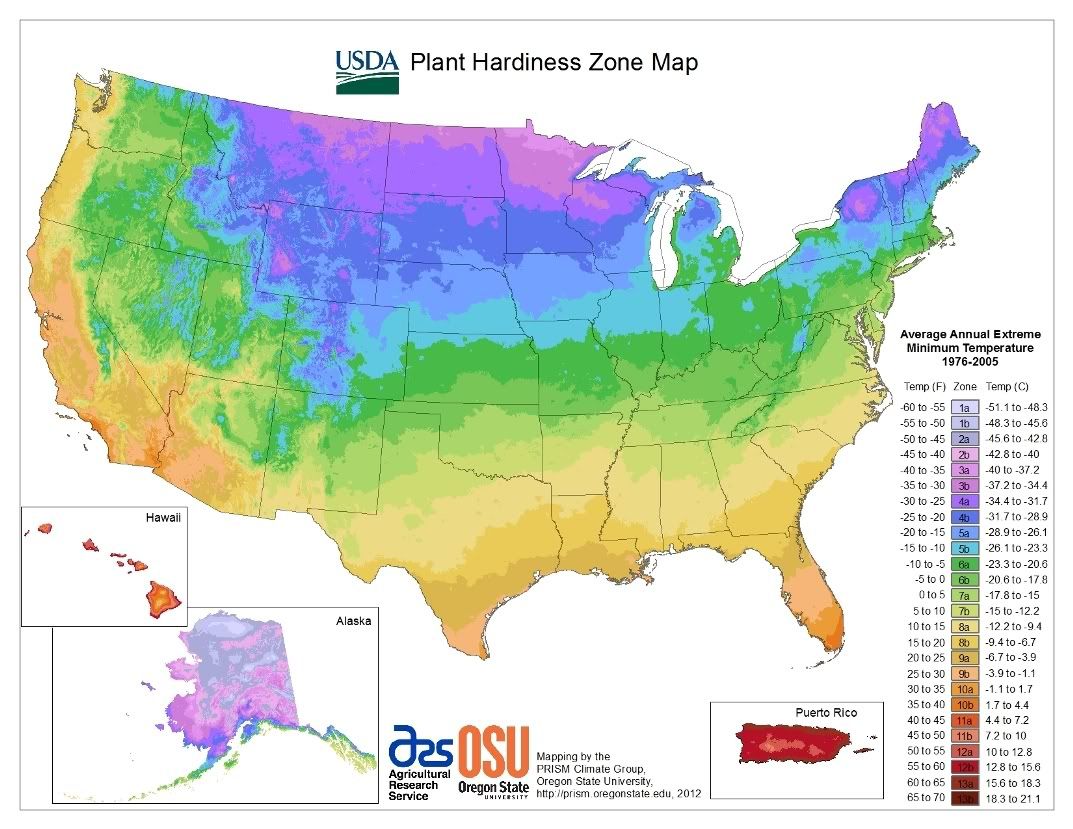
Detailed State Plant Hardiness Zone Maps
International Plant Hardiness Zone Maps
Australia
Canada
China
Europe
Japan
Great photos...great info.!!
Thanks as always.
This should be stressed again. The tomato plant will make more roots from the buried portion of the stem and be able to absorb more nutrients from the soil, resulting in larger and more abundant crop yields, and be better able to withstand dry periods and wind..............
Please add me to your ping list. Thanks!
Thanks, and you’re welcome! It is such a pleasure sharing info.

Terrific! Thank You!
Is that rebar you’re using to stake your tomatoes?
Gorgeous!
Thanks for another idea or two we can rip off...now to track down some rebar.
About how many quarts do you put up with 100 plants?
Last year I had 160 or so plants, and I put up hundreds of jars of tomato sauce, green tomato relish, spiced tomato jam, etc. We also love fried green tomatoes.
That is amazing!
I use the rebar for my peppers too. With our loooong growing season, many of my peppers reach 5-6' tall.
Great looking garden - thanks for the info
I only had 6 tomato plants last year and I scrounged up 6 cages that my mom wasn’t using. My plants grew ‘great guns’ and ended up collapsing the cages .... quite a mess! I laughed when I saw the rebar .... hadn’t thought about using something like that, but for sure, it won’t bend or break!!
One more question .... what do you use to tie the tomato plants to the rebar?
Disclaimer: Opinions posted on Free Republic are those of the individual posters and do not necessarily represent the opinion of Free Republic or its management. All materials posted herein are protected by copyright law and the exemption for fair use of copyrighted works.