
Posted on 03/09/2012 10:51:08 AM PST by JustaDumbBlonde

.
Good afternoon gardeners! After a high of 81 degrees yesterday, we are at 50 degrees today after experiencing high winds and 3 inches of rain last night. Radar would indicate that there is more rain to come, as I see it in Texas right now. I hope that all of our Texas gardeners are catching up on much needed rain! PTL!
We have so many new gardeners in our group, in addition to folks with the desire to begin gardening, that I thought a primer on transplanting might be useful. Please feel free to add to the discussion with your regular practices. And, as always, please feel free to ask any questions that you may have. This group loves to share information, and advice is free for the asking!
Because I plant over 100 tomato plants every year, I've got my transplanting down to a science that works for me and allows me to move down the row quickly. My tools are a bulb planter, a old spoon from the kitchen, a small bucket and several 2-liter soda bottles. (One day I'd love to do a thread on all of the common non-garden-related items we all use in our gardens.)
I start off my mixing up several bottles of a starter fertilizer, either the TNT pictured below, or Miracle Grow Quick Start. Whatever you use, make sure it is a low-nitrogen product, or you will grow lovely leaves and not much else. I also put some tomato food around the base of the tomato after transplant. Please notice the N-P-K formulation on these products. Similar products from any manufacturer are fine, these are what stores in my area offer for sale.
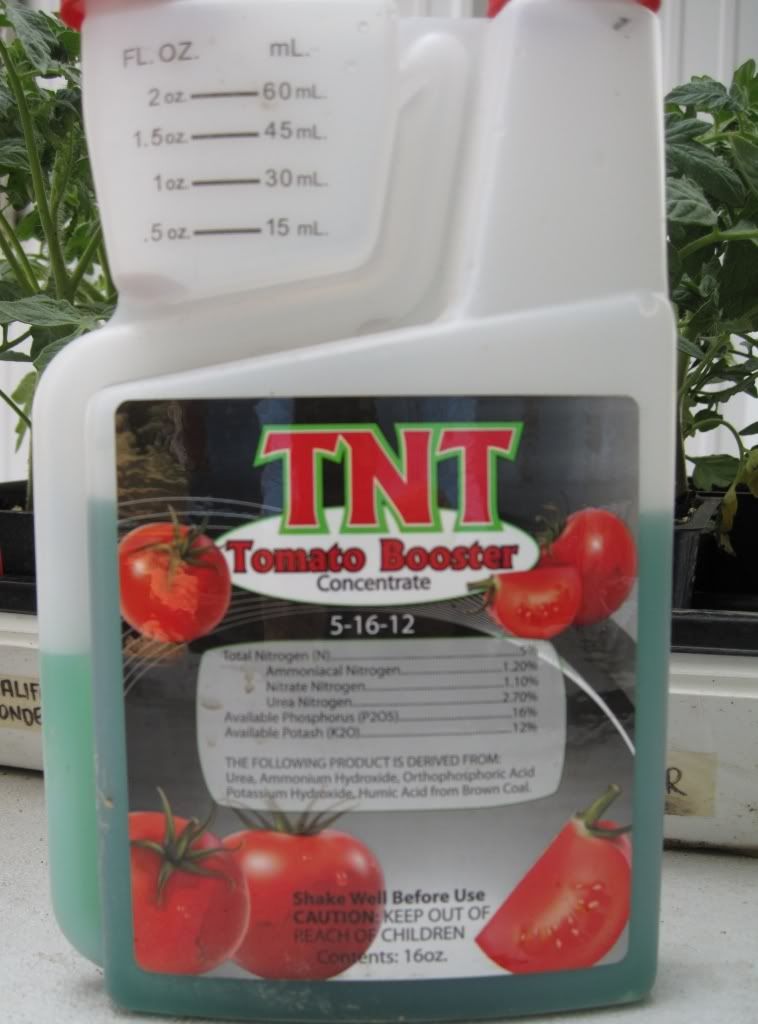
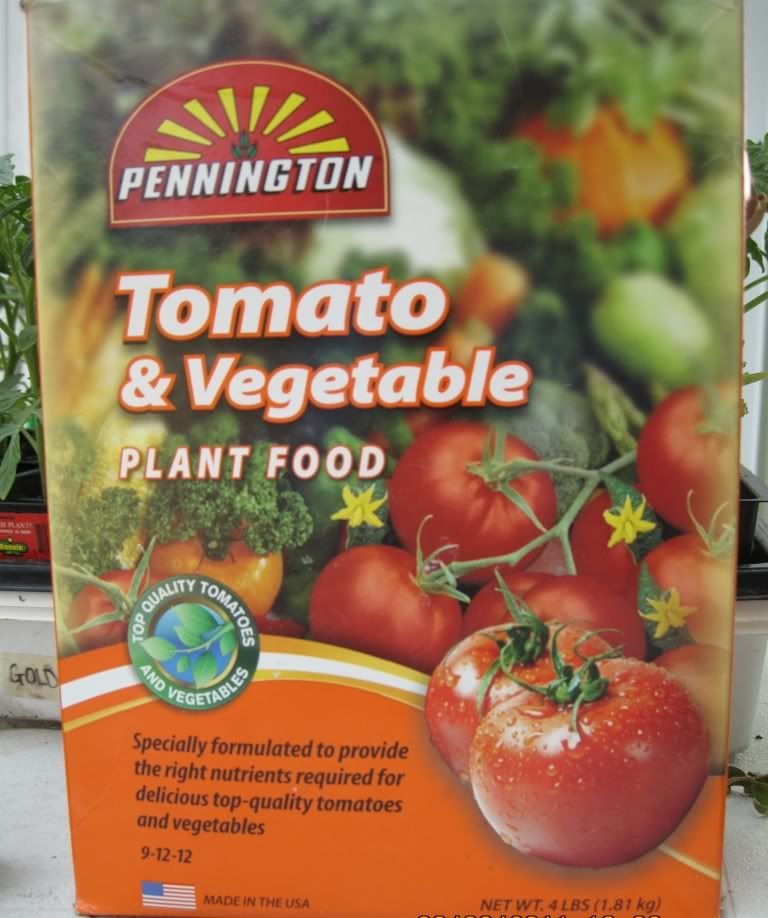
My tomatoes are planted through a commercial quality landscape fabric for weed control and moisture retention. It has other benefits, but weed control is my major concern. I begin by measuring off 30 inch increments and marking them on my fabric, then I go back and cut X's in the fabric and fold the corners under to access the soil.
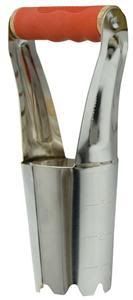
Begin by digging your hole. I use a bulb planter because it makes the perfect diameter hole for a transplant that comes from a commercial 6-9 pack, or the small newspaper pots that I make myself. Tomatoes should be planted "deep", so dig your hole accordingly.
Here is an example of a bulb planter:
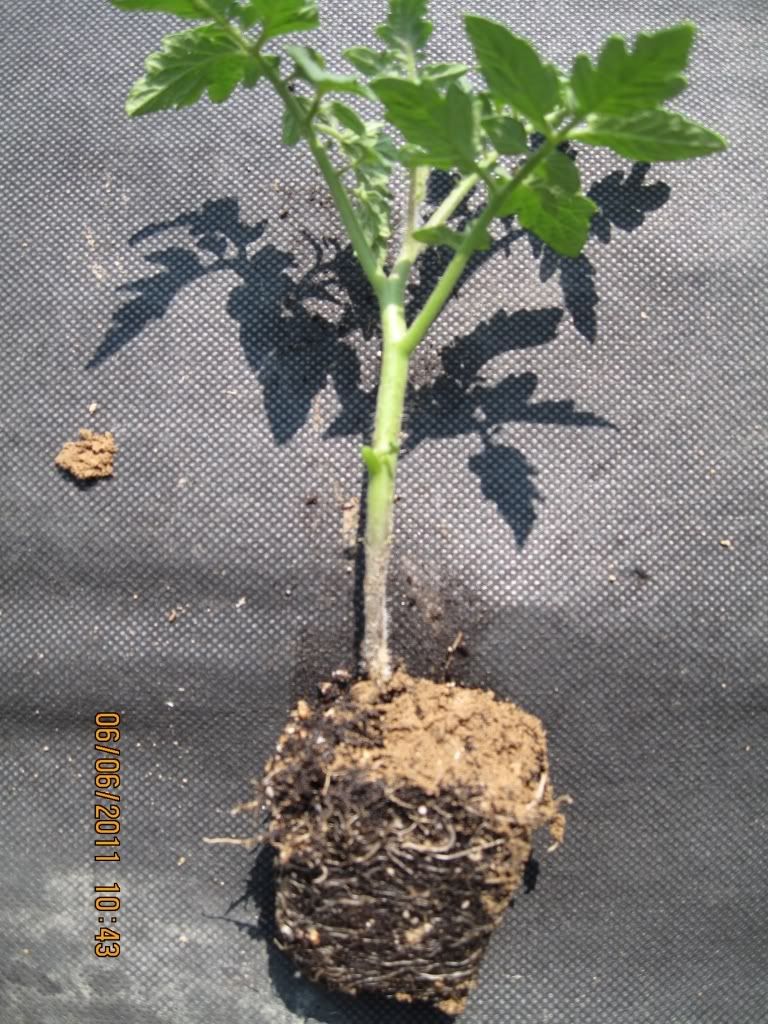
By "deep", I mean that you are going to plant more than just the roots, you are going to plant at least half of the stalk as well, up to 3/4 of the height of the plant is perfectably acceptable. Bonnie Plants, which supplies the likes of WalMart, Lowes and Home Depot garden centers, used to suggest 80% of the plant stem, but they have since backed that off to 2/3. This method is really the ONLY way to grow the strongest possible plant. Roots will develop on the entire length of the stem that is buried, giving your plants lots of roots to anchor the plant, as well as the ability to absorb more moisture and nutrients. In the photo below, the top of my index finger is indicating how deep I'm going to plant this tomato.
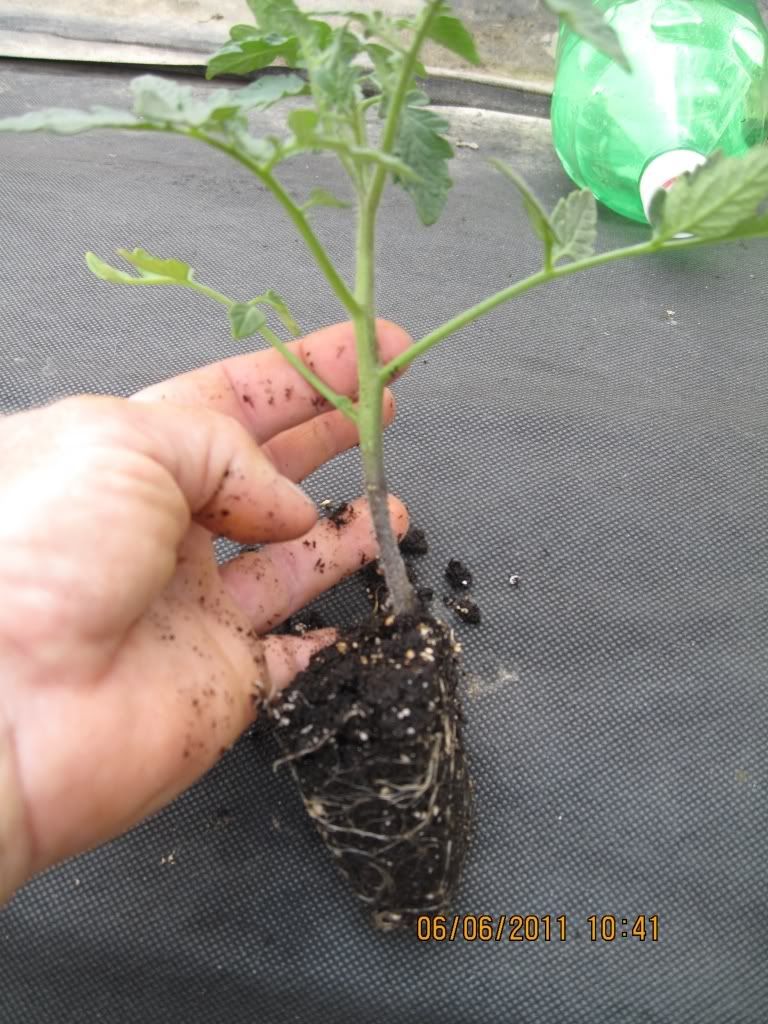
The next photo shows that I have pinched-off the leaves of the plant up to the point that I will bury the stem. This is not a required step, many folks let them stay, but it is my personal preference to remove them to avoid air pockets around the new roots.
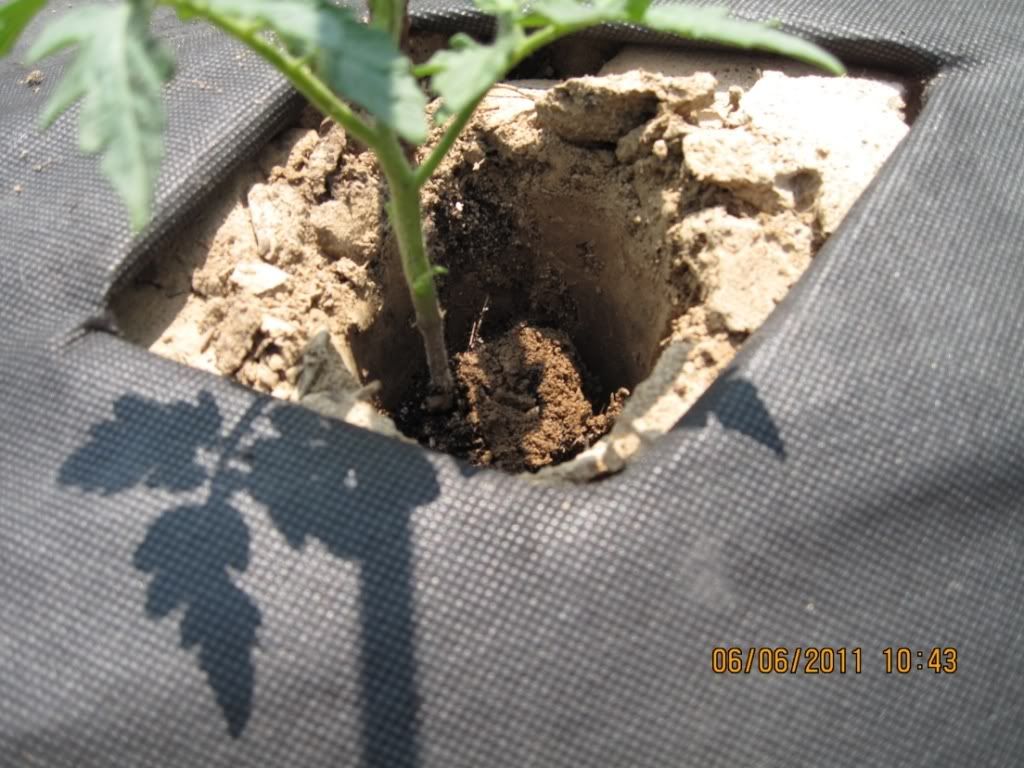
Next, gently place your plant in the hole you've prepared. You can see from the photos below that there is enough room in the hole to surround the delicate roots with looser soil to accomodate quick spread and avoid transplant shock.
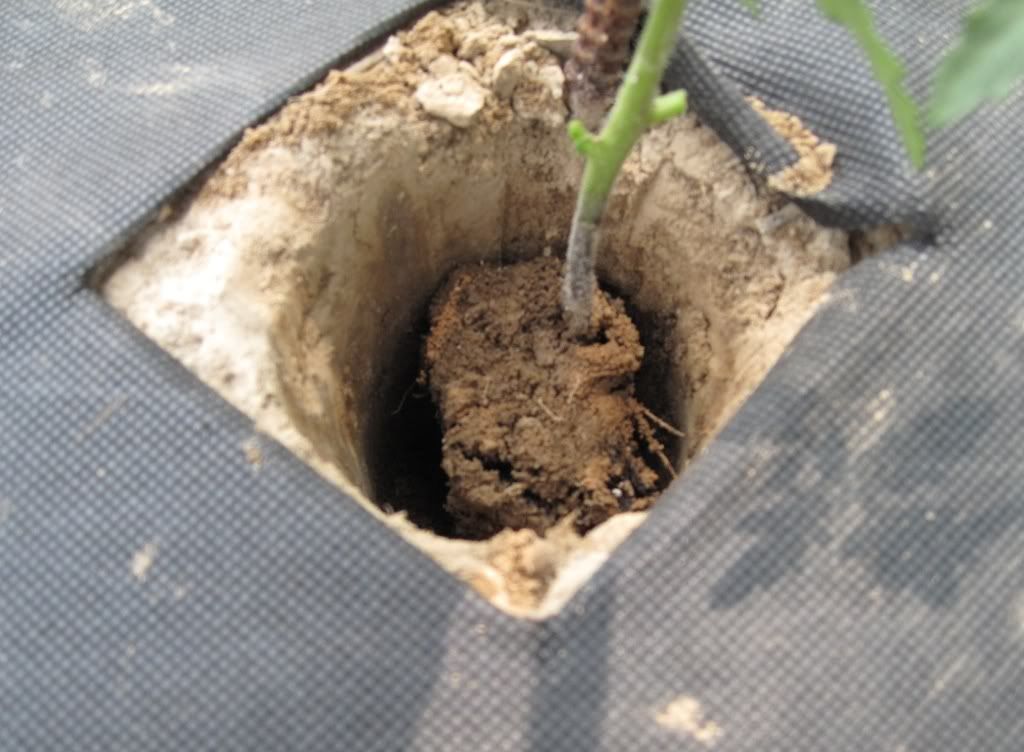
In the next step, you should replace the soil you removed with the bulb planter, just enough to cover the existing rootball. I use the small bucket to break up the soil and hold it until I'm ready to put it back. If you're not working on landscape fabric, of course you can keep the soil on the ground next to the hole. The important thing is making sure you break it up well.
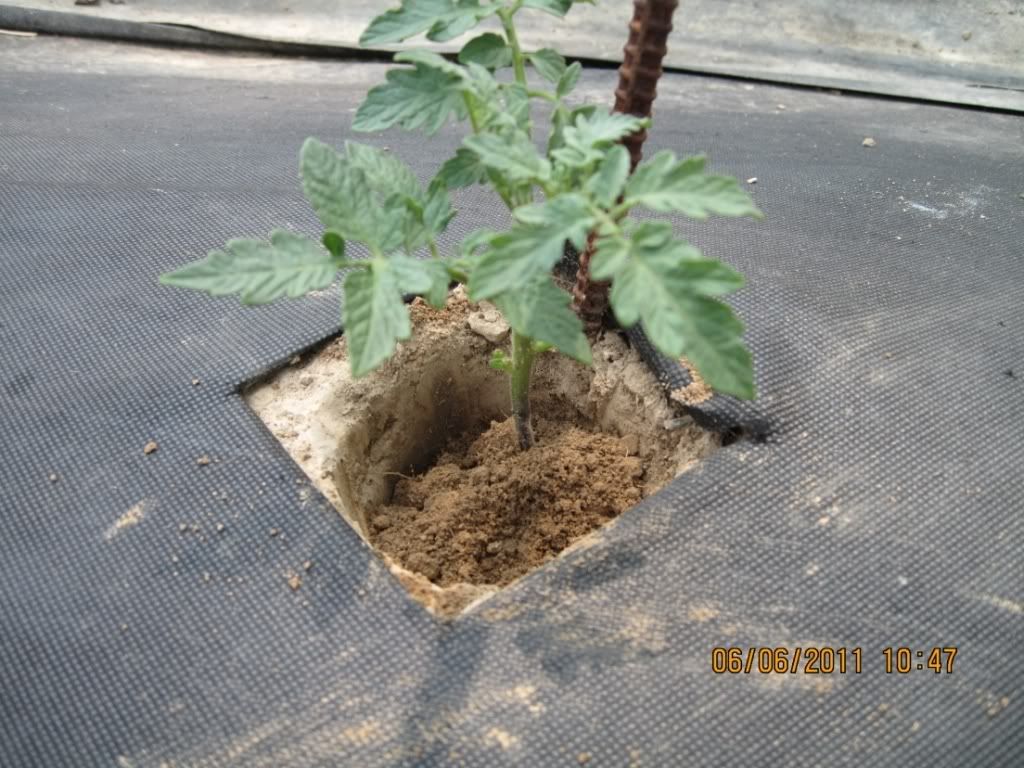
Then water that soil in with your starter fertilizer/water mixture. Water until the loose soil is underwater and then allow it to soak in. It only takes a minute or less.
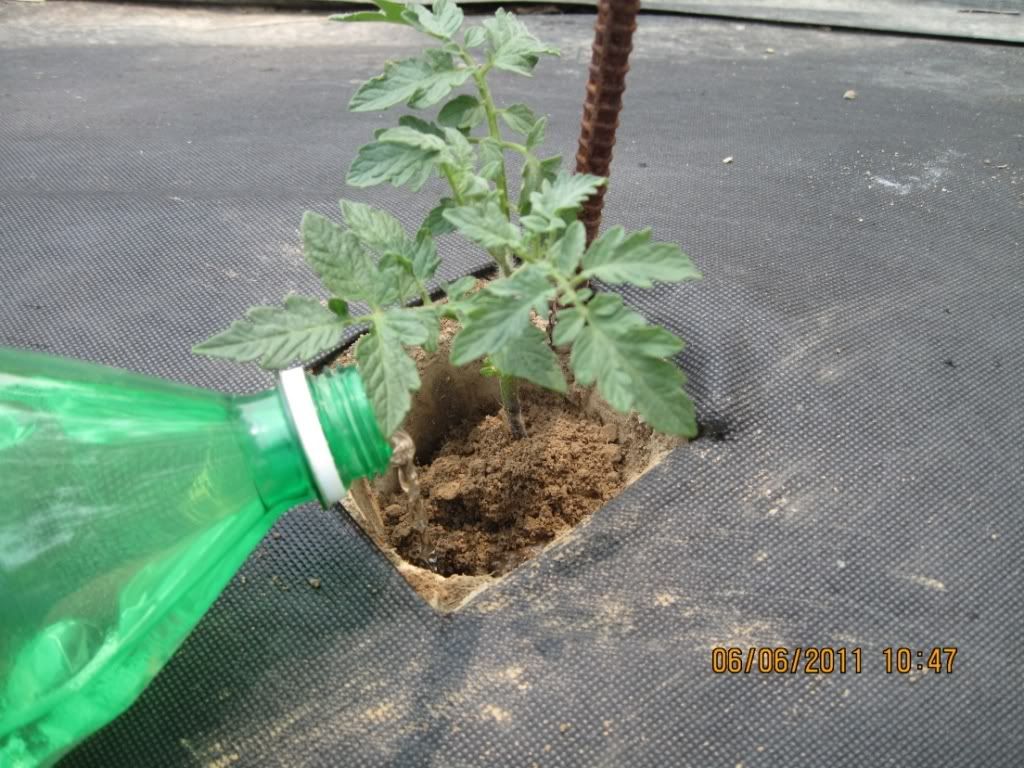
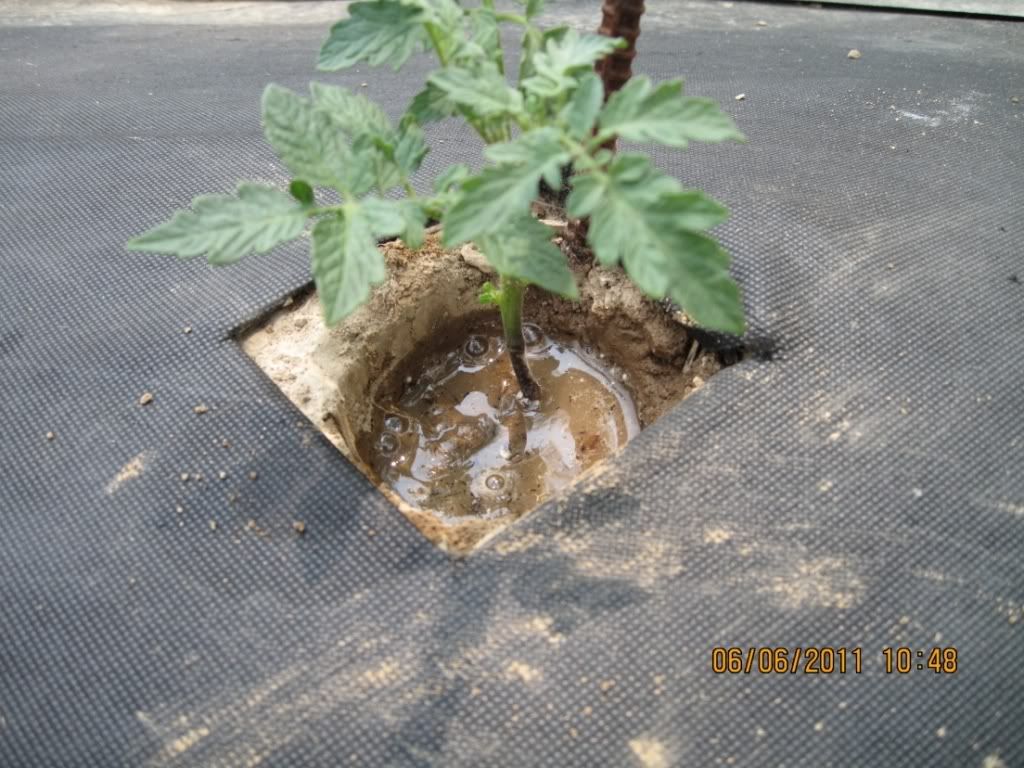
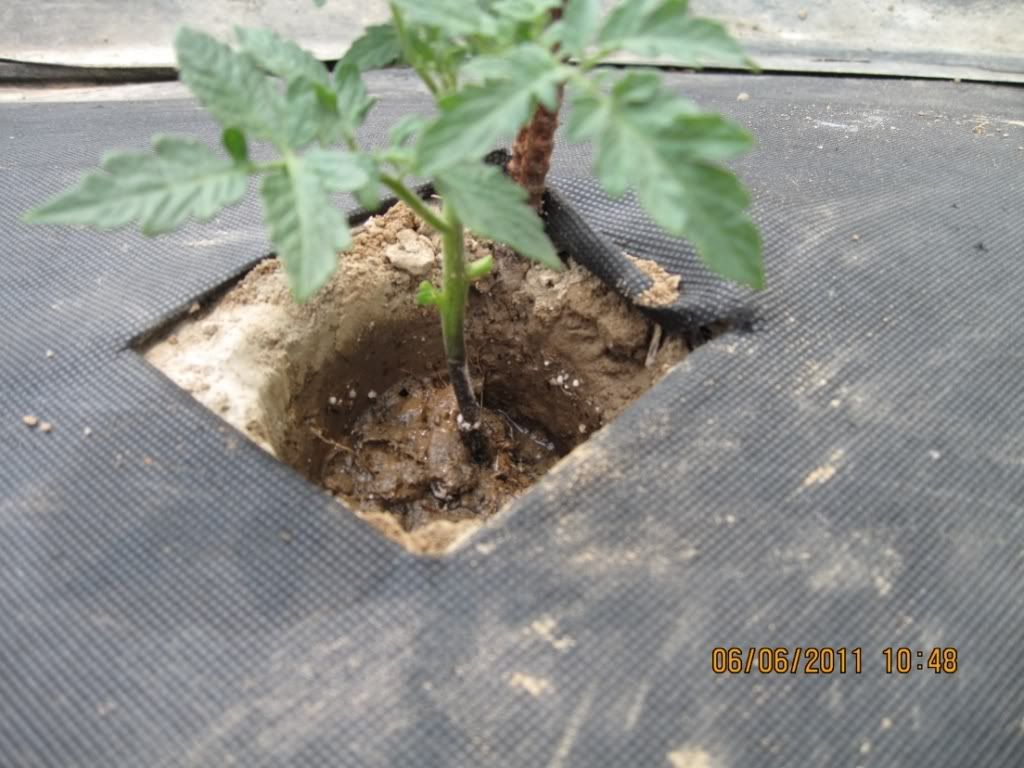
After the water soaks in and settles the loose soil, fill in the remainder of the hole, and build it up to a small pyramid. The next rain or watering will take that pyramid down to level ground and, if it doesn't, that's okay too. At this point if you have not already fertilized your soil, place a tablespoon or two of a good tomato fert around the base of the plant. DO NOT let the crystals touch the stem!
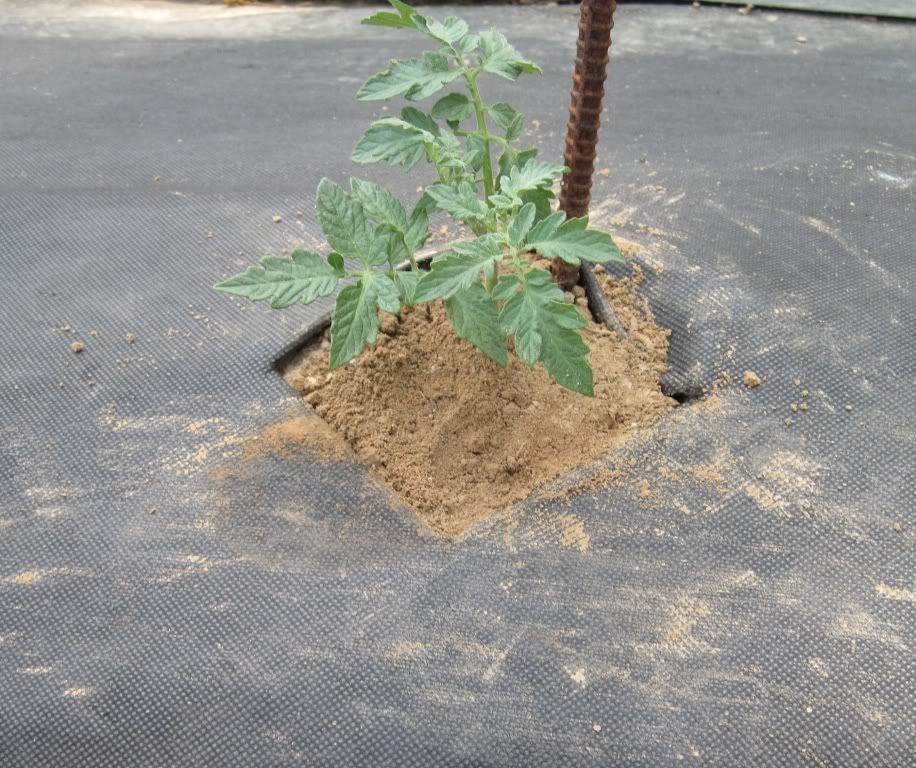
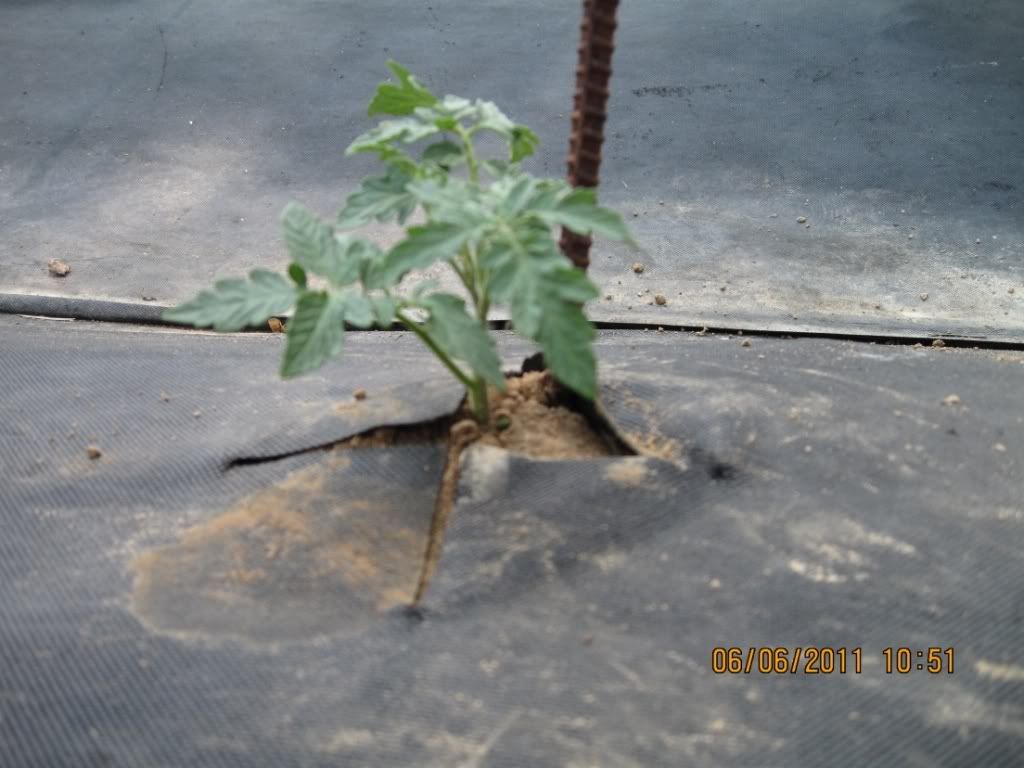
My final step is unfolding the landscape fabric to cover the soil, and standing back to watch the growth!
.

The Weekly Gardening Thread is a weekly gathering of folks that love soil, seeds and plants of all kinds. From complete newbies that are looking to start that first potted plant, to gardeners with some acreage, to Master Gardener level and beyond, we would love to hear from you.
This thread is non-political, although you will find that most here are conservative folks. No matter what, you won’t be flamed and the only dumb question is the one that isn’t asked.
It is impossible to hijack the Weekly Gardening Thread ... there is no telling where it will go and that is part of the fun and interest. Jump in and join us!
Distance between rows?
Late in the season, as the tomato plants died & I cleaned up the mess, I took the cages and used them on my Hungarian Wax Pepper plants and some green bell pepper plants. They needed the support - a couple of them were almost lying over on the ground. I’ll make sure any peppers I plant this year have support from the get-go.
Great post JADB! Tomatoes are what I focus my garden on and this is good info! We are now in Marshall, Tx and got that same gully washer you got last night. That front really dropped the temps here too. We were at 75 yesterday and in the fifties today. I have located a fairly sunny spot for my garden and should get plenty of morning and early afternoon sun. The property we are on has 21 pine trees on it and shade is a big problem but might be a blessing if we get a hot summer with little rain.
We picked up our rental truck Tuesday morning and started packing and finished Wed at noon. Then drove the 362 miles to Marshall. We arrived here at 8pm. Started unpacking the truck yesterday and finished up just before those big rains blew through here. We just got back from turning the truck in over in Longview. We are a couple of tired puppies.
What do you recommend?
40 inches. The landscape fabric is 48", which gives perfect overlap.
Our local Corpus Christi, Tx weatherman, Dale Nelson, grows super tomatoes.
There are two Tomato formulas.
One formula for sandy soil and one for clay soil. The first time you use the tomato formula use the “Original” formula no matter what type of soil you have.
Original Formula / Sandy Soil
1 cup 10-20-10 (1-2-1 ratio) fertilizer
1/4 cup super phosphate
1/2 cup gypsum
2 cups cow manure
Dig a hole and mix ingredients. Then, add regular dirt on top of formula before placing tomato plant in hole. Otherwise, formula will burn the roots of the plant. Don’t let formula touch the roots when they are first planted. Let the plant grow into the formula. Water regularly. Stand back and watch them grow! Best varieties are Sonny, Bingo, Carnival, Heatwave, Celebrity, Big Boy, Better Boy and President. Best cherry tomatoes to use are small Fry and Cherry Grande. Everything needed is available at any local nursery.
Caution: Please be aware that excessive use of phosphorus in our clay soil over a long period of time can be non beneficial to your plants.
Clay Soil*
1 Cup 21-0-0 (1-0-0 Ratio) Ammonium Sulphate
3/4 Cup Gypsum
2 Cups Cow Manure
Mix these ingredients together with existing garden soil and plant one tomato plant per hole mixture.
*Most clay soils in this area already have too much super phosphate, which tends to stay in the soil for a long period of time. The local nursery people tell me, the best way to correct this is by adding ammonium sulphate which is 21-0-0.
http://corpuschristihomeandgarden.com/component/content/article/1217
Y'all get some rest and stay in touch as you get all settled in. What does Cashmere think of her new home?
bump
Wow, amazing.. guess I only have one question: where did you get that stuff you’re calling ‘dirt’ that you planted in?
:) We live on one huge slab of limestone in Centex. We hire trucks to go scout out dirt and bring it to us. Doesn’t seem to like us much, seems to prefer washing into the lake..
Thank you for that information. Interesting and I’ll definitely look into it.
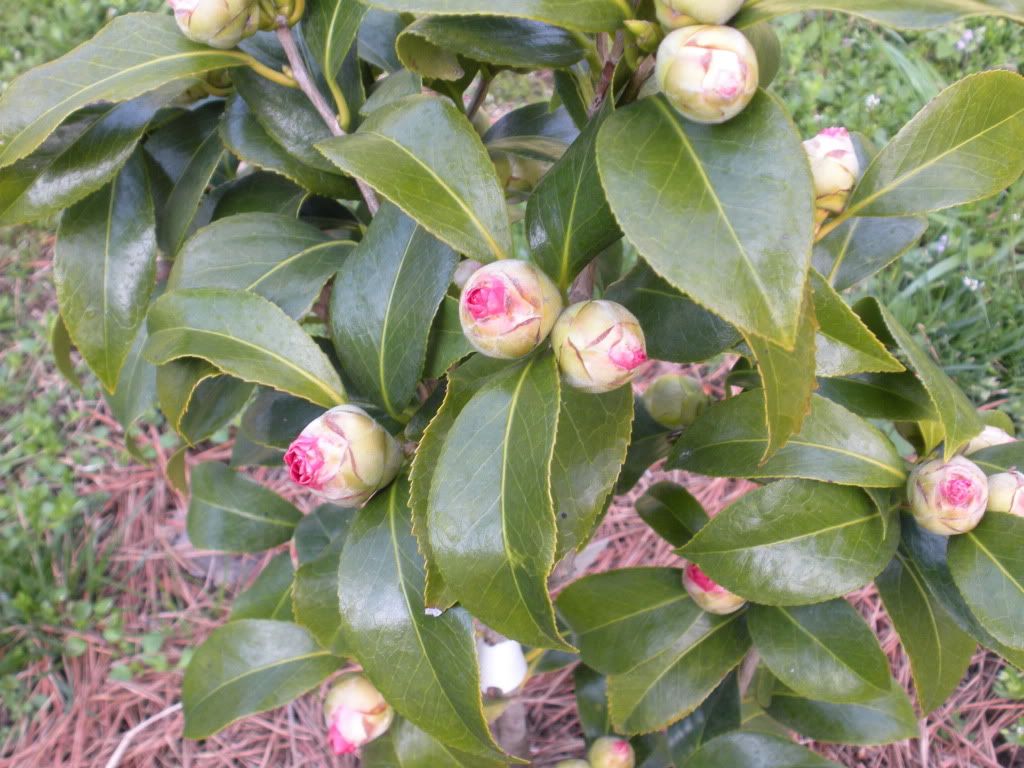
Waiting for this camellia to bloom for the first time (just planted it last May) has been almost (but not quite) as bad as waiting for a mare to foal. It looks like we're making some progress .... color showing now. :-)
Oh my gosh, LOL! Might I recommend some timbers and landscape fabric??? A soil corral, so to speak?
bump
That’s the fix, and buckets with holes drilled in the bottom!
I don’t know how many here have HEB plus!es in their neighborhood, but they carry a line called Chef Jeff’s that is
incredible. All the little plants are deep dark green, never leggy, perfect health with tons of varieties. They even are selling peanut plants this year, which is a great living fertilizer companion plant.

Evidently, Mike uses the same soil every year, with no crop rotation & has great tomatoes. I had some of the nicest, most trouble-free tomato plants that I've ever grown.
Can anyone tell me what to add to the acidic soil around my hydrangea to make the flowers come out blue this year?
Thank you for the great tutorial on planting tomatoes. Even though I can’t plant them here until Memorial Day.
I’m in total agreement both on thankful for rain, but it has been an unbelievably wet winter. Good luck to the guys getting that corn in.
Great info I was gonna put my maters out tomorrow but its gonna be too wet I’m afraid..I can wait till Sunday afternoon I guess...
could you add me to your ping list?
I’ve been back reading and you have a lot of good info.
Disclaimer: Opinions posted on Free Republic are those of the individual posters and do not necessarily represent the opinion of Free Republic or its management. All materials posted herein are protected by copyright law and the exemption for fair use of copyrighted works.